

Looking to create a unique video for each new customer or an individualized onboarding video for fresh employees? Leveraging HeyGen's integration with Zapier, you can set up this process in under five minutes to automatically generate personalized videos with each new customer or employee addition. This guide will walk you through the process.
Preparation: Creating a HeyGen Template
First, create a video on HeyGen as you usually would. You can add avatars, texts, images, and videos to meet your needs.
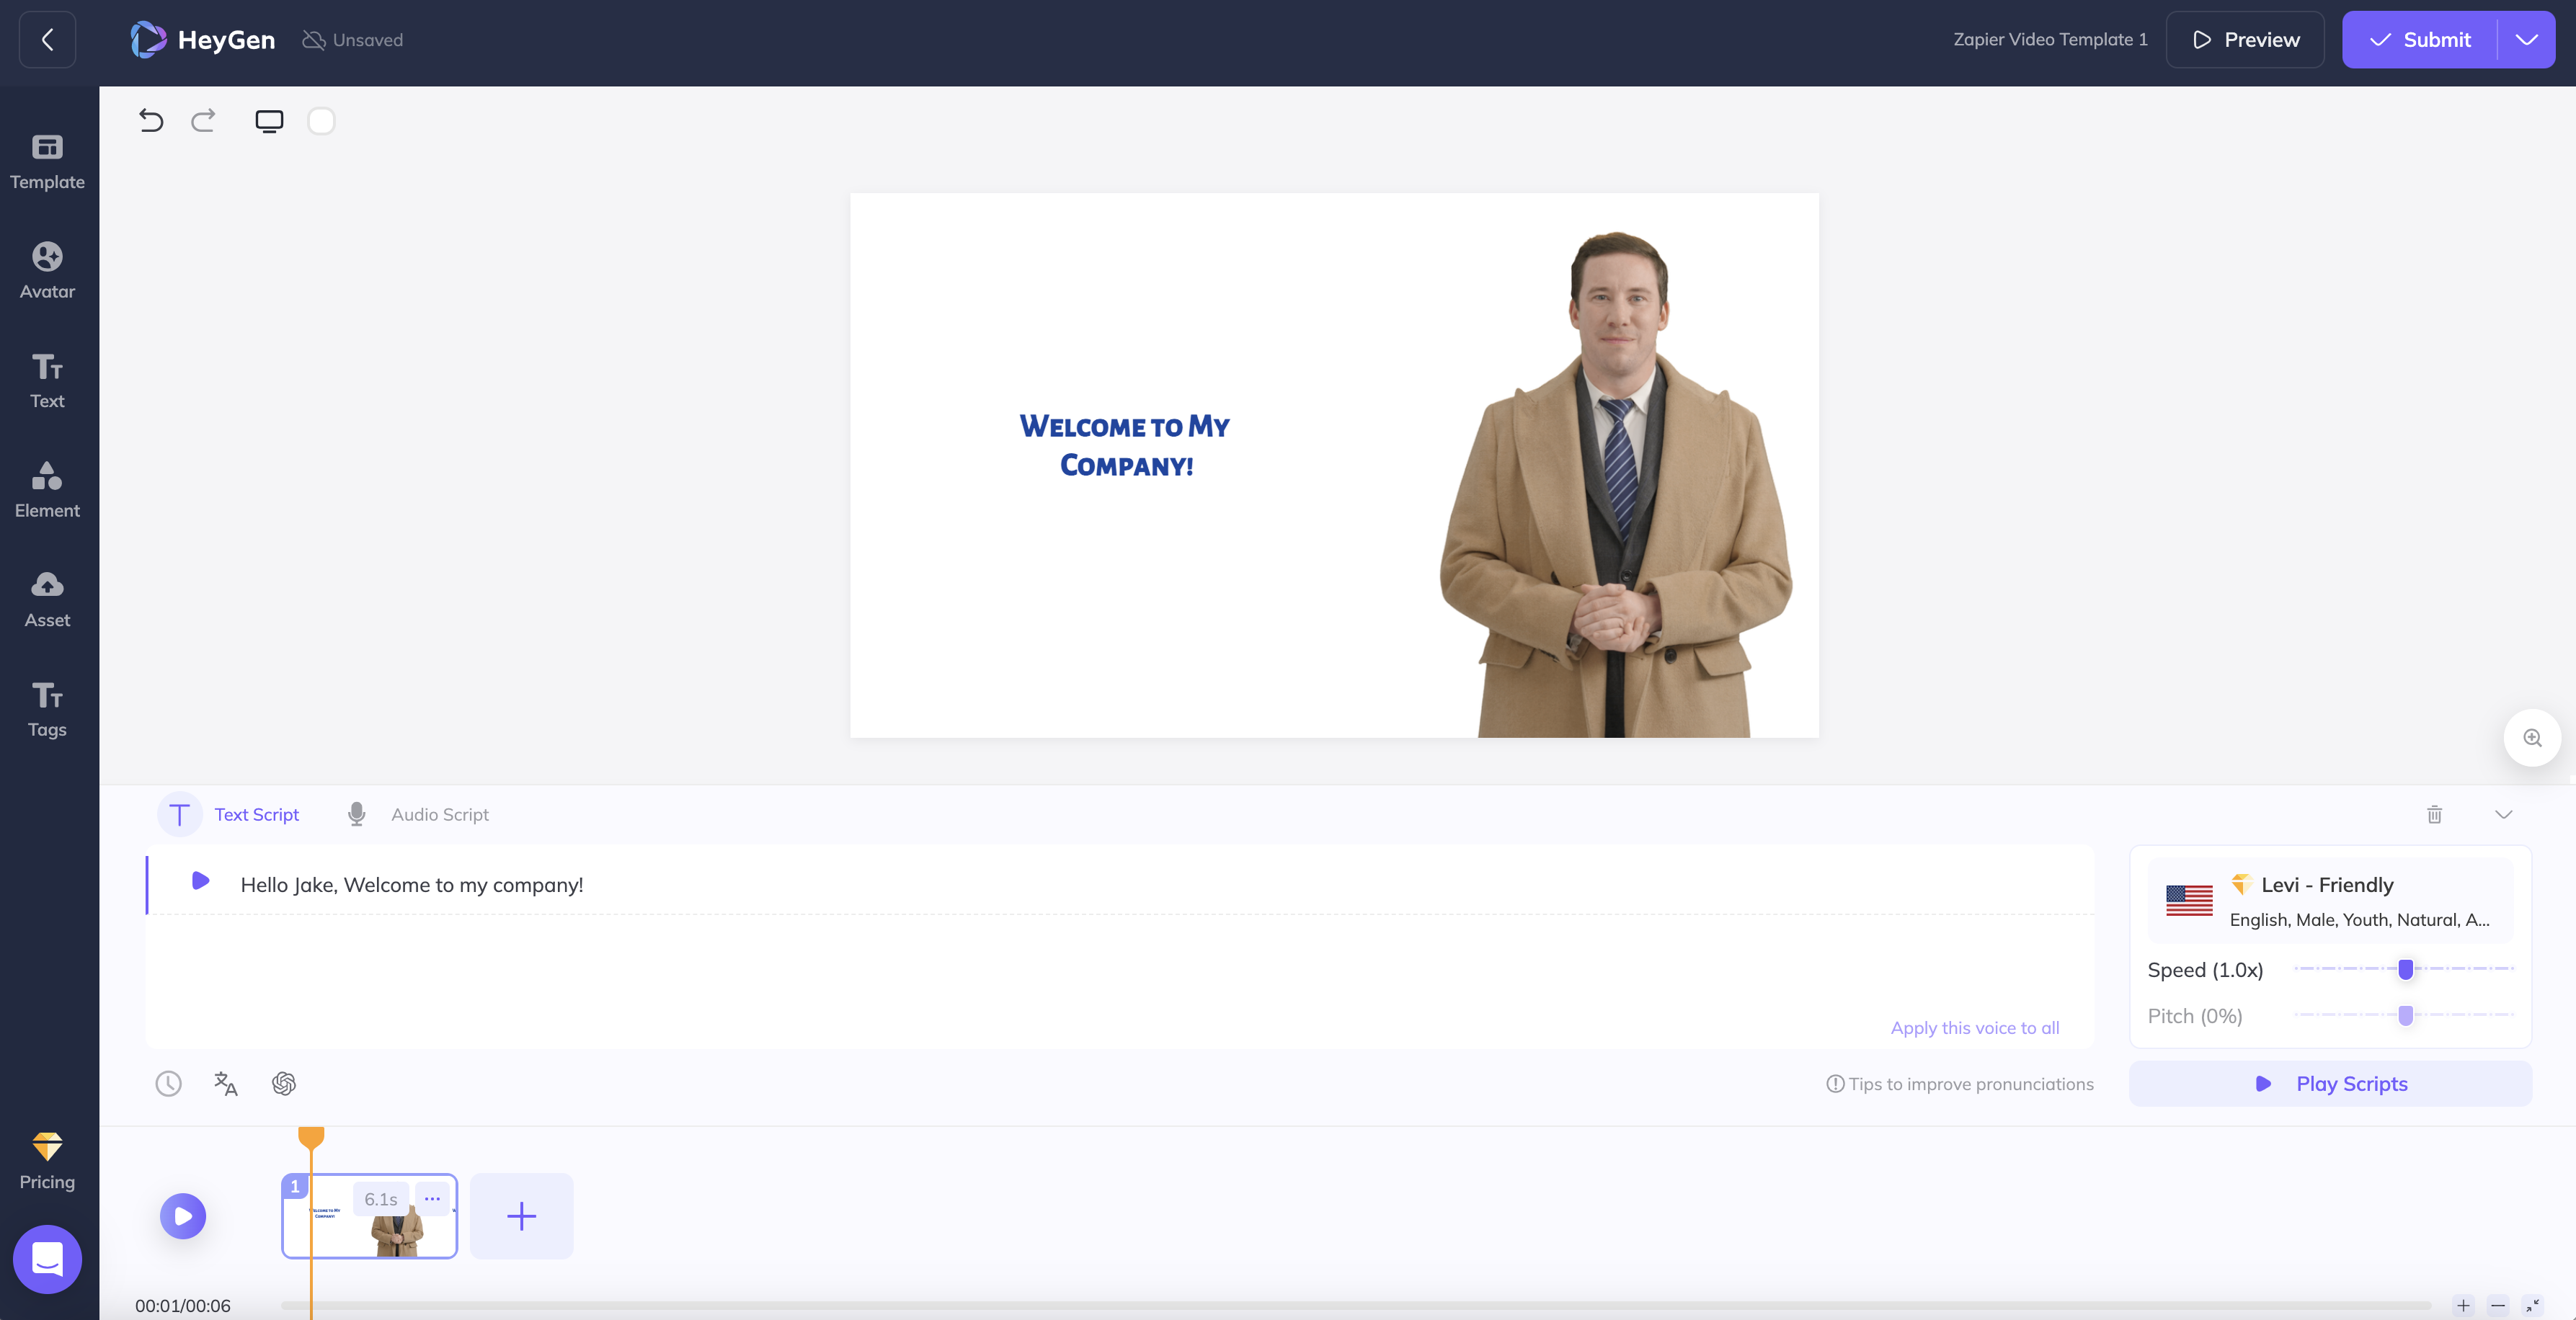
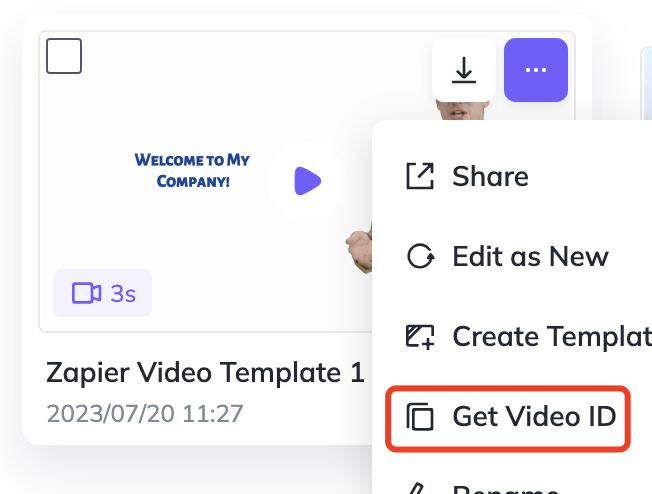
Once your video is ready, hit "Submit" to generate it. This video will act as your template for all personalized videos. After generation, ensure to review the video and confirm that it meets your needs. You can then retrieve the Video ID from the upper right corner of the thumbnail - you'll need this ID in the next steps.
Step 1: Create a New Zap and Select Trigger
Log into your Zapier Account Dashboard and click "Create a Zap". Look through the available triggers and select one that suits your needs. In this example, we'll use a Google Form trigger to generate a new personalized video each time a new form response is received.
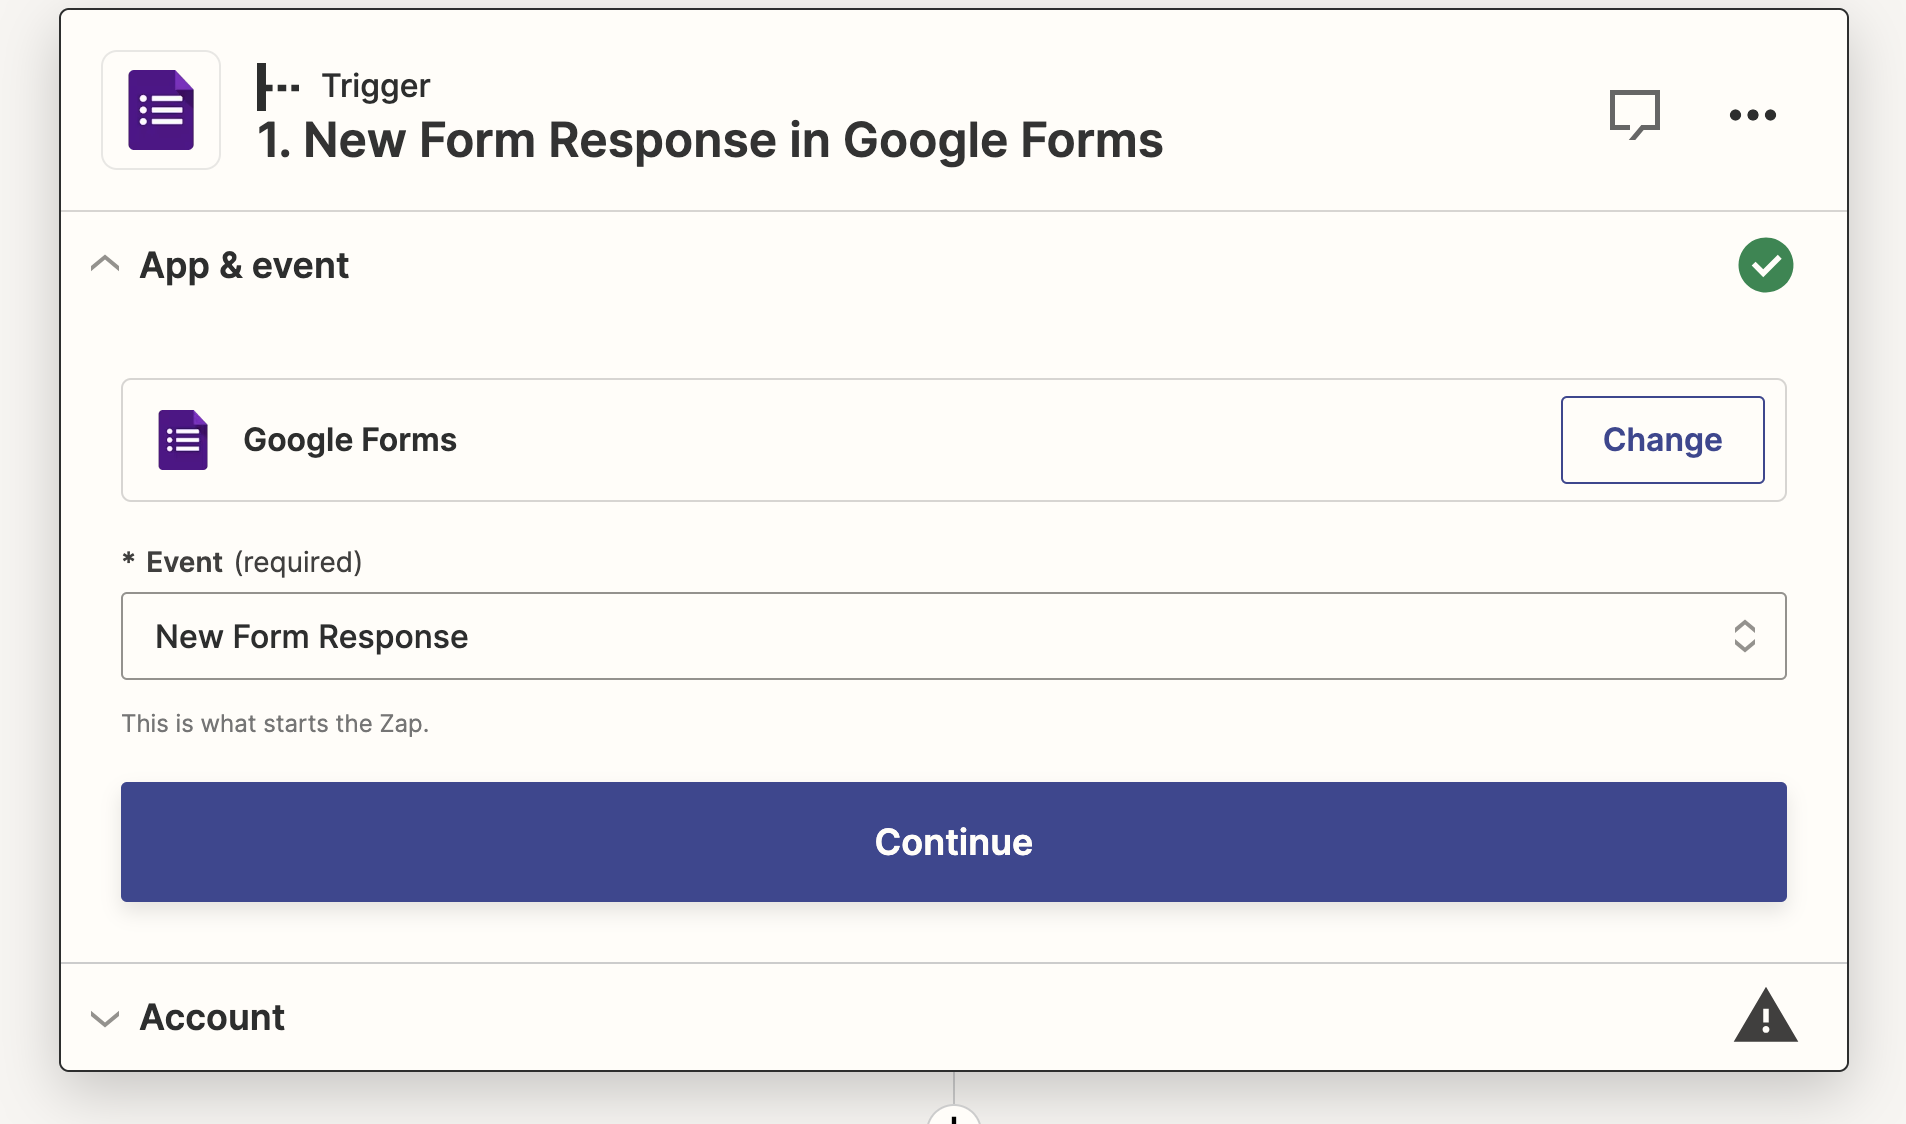
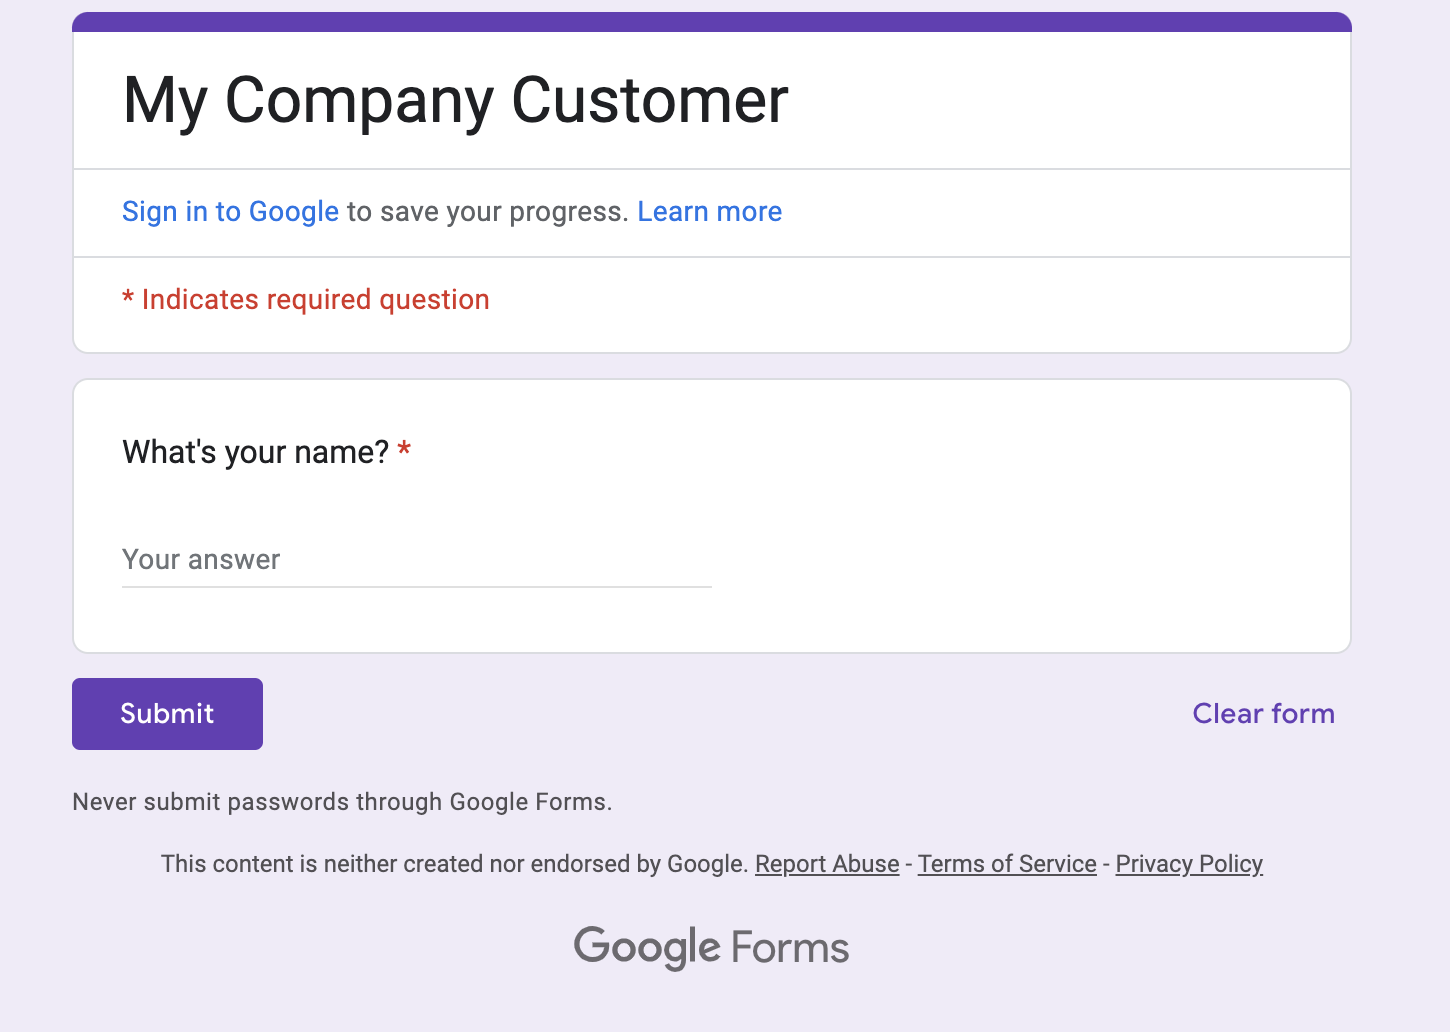
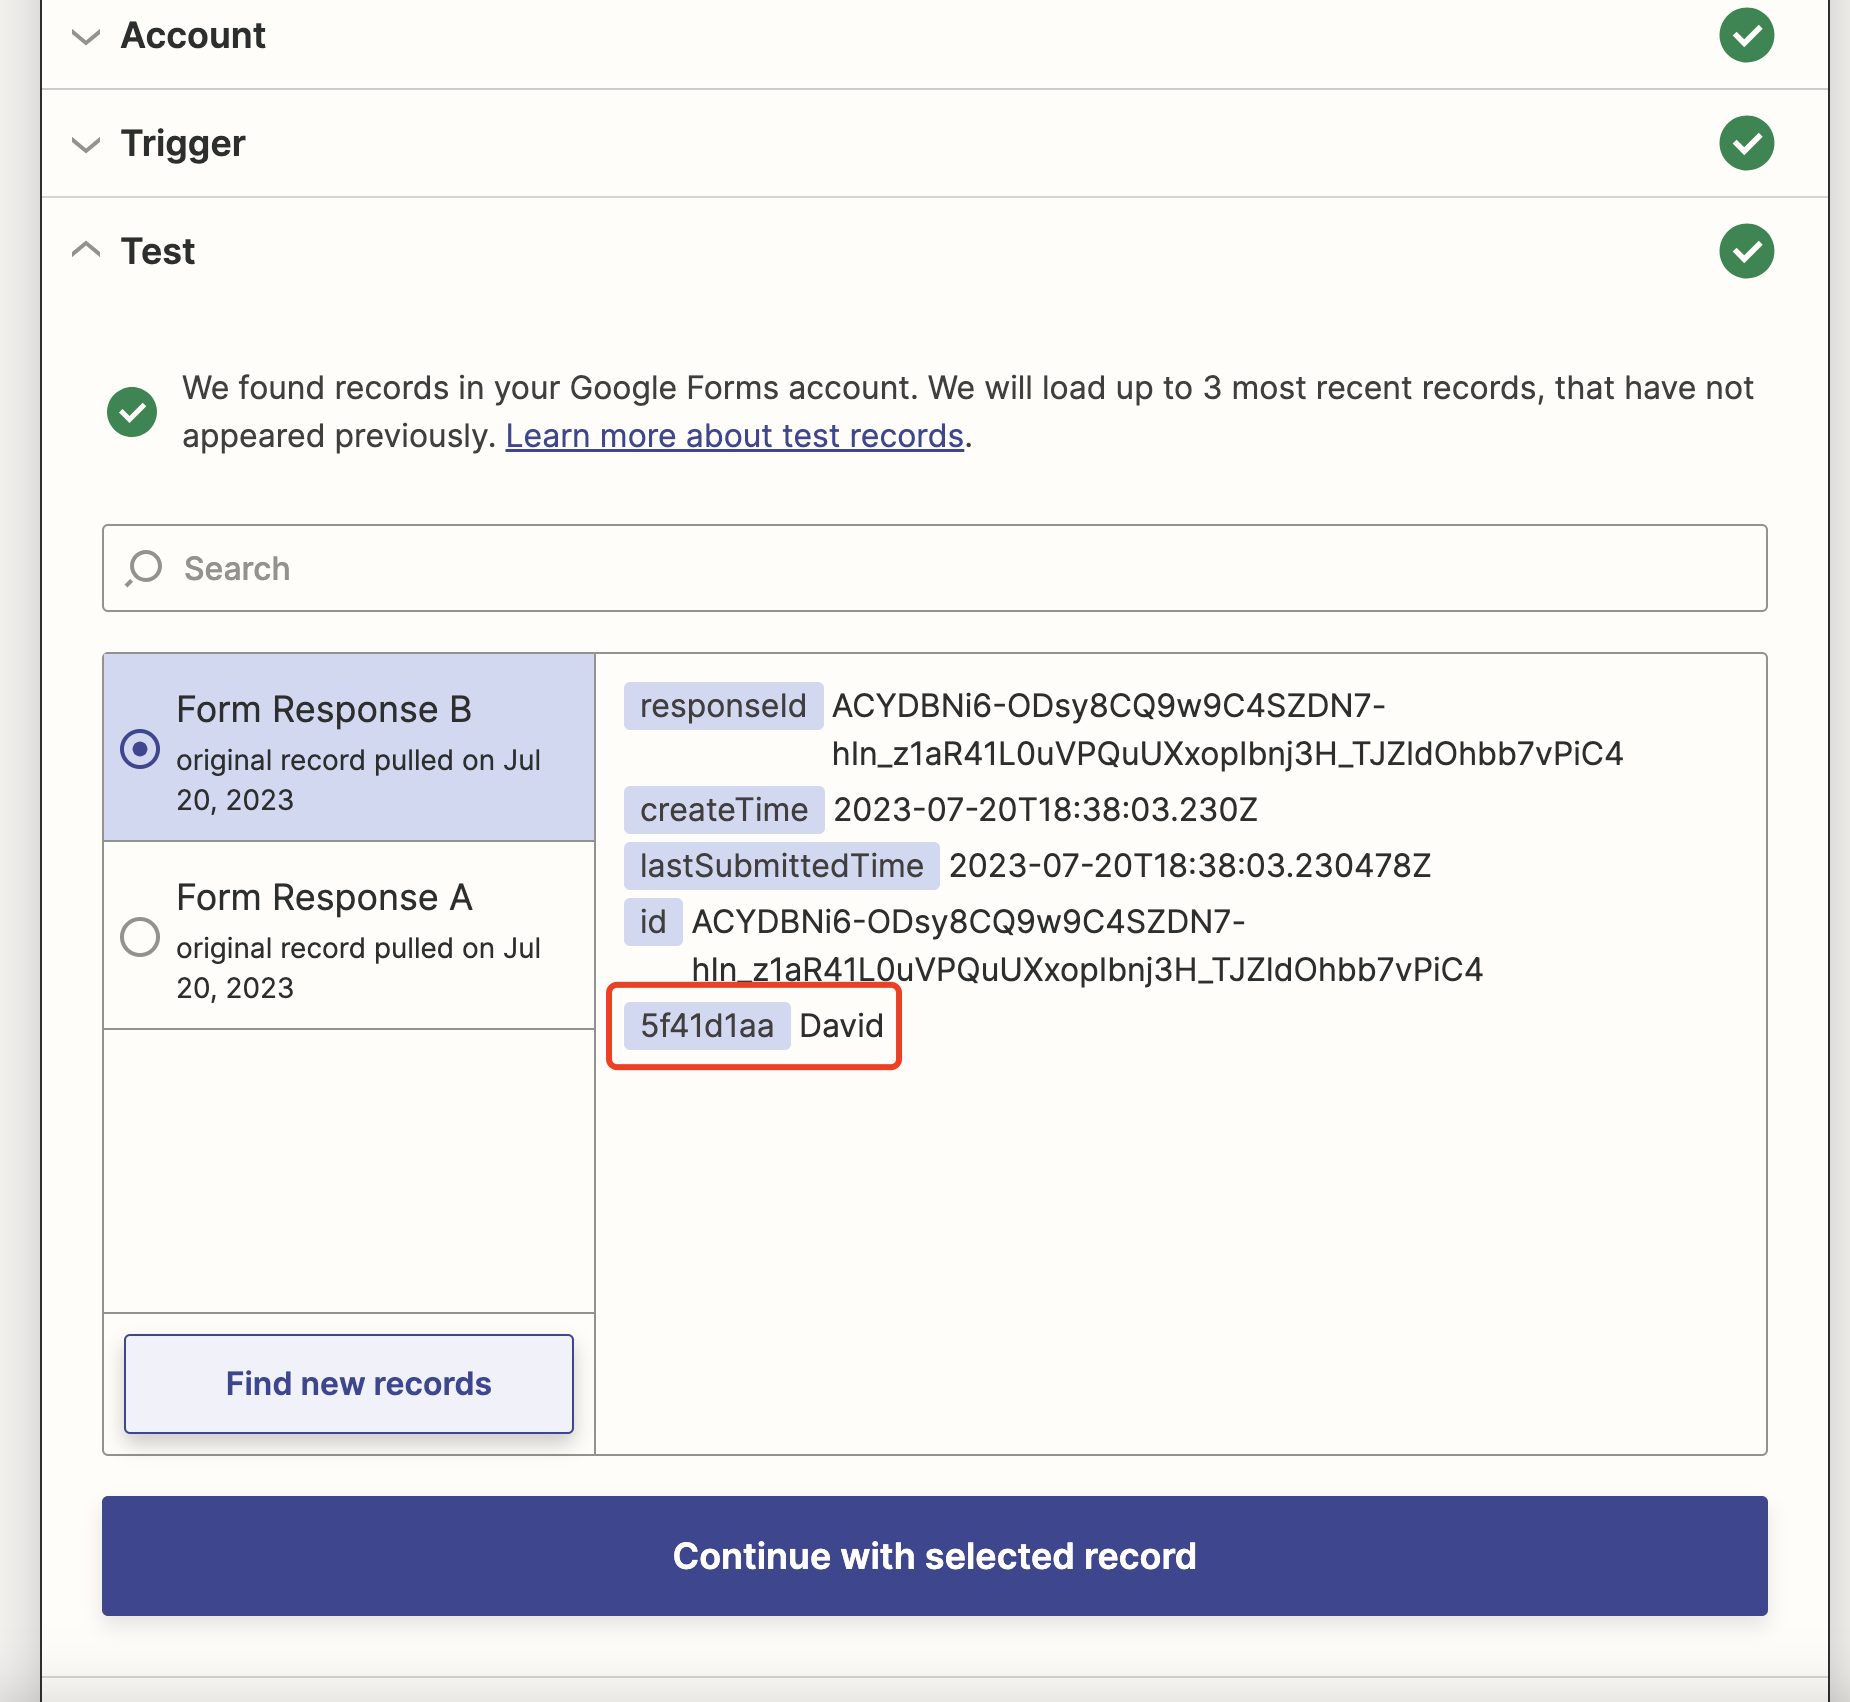
Follow the steps provided by Zapier, select your form, and test the trigger. Ensure at least one response is recorded on your form; otherwise, the trigger may not test correctly. Identify the fields you'll use for personalized segments in subsequent Zapier actions.
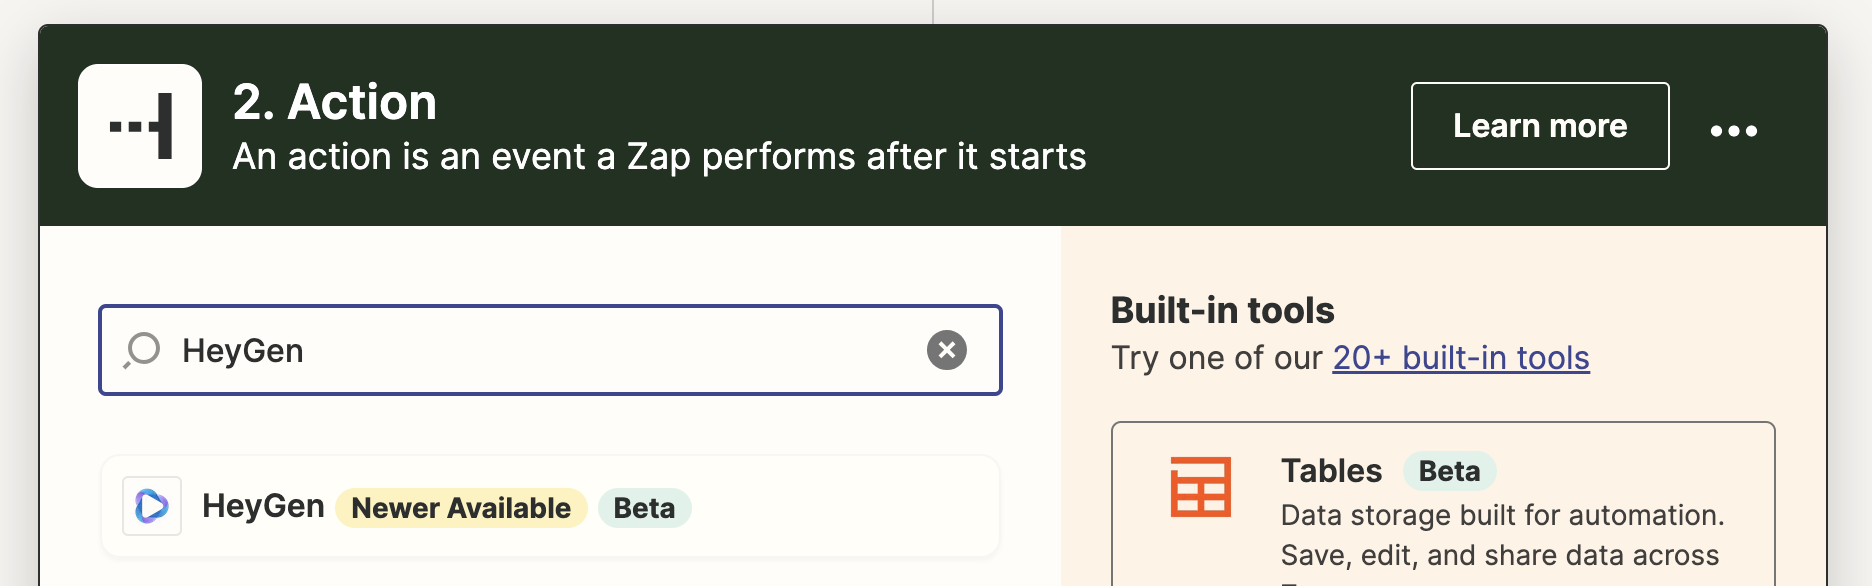
Step 2: Select HeyGen as an Action
Next, add an action to your Zap, selecting HeyGen.
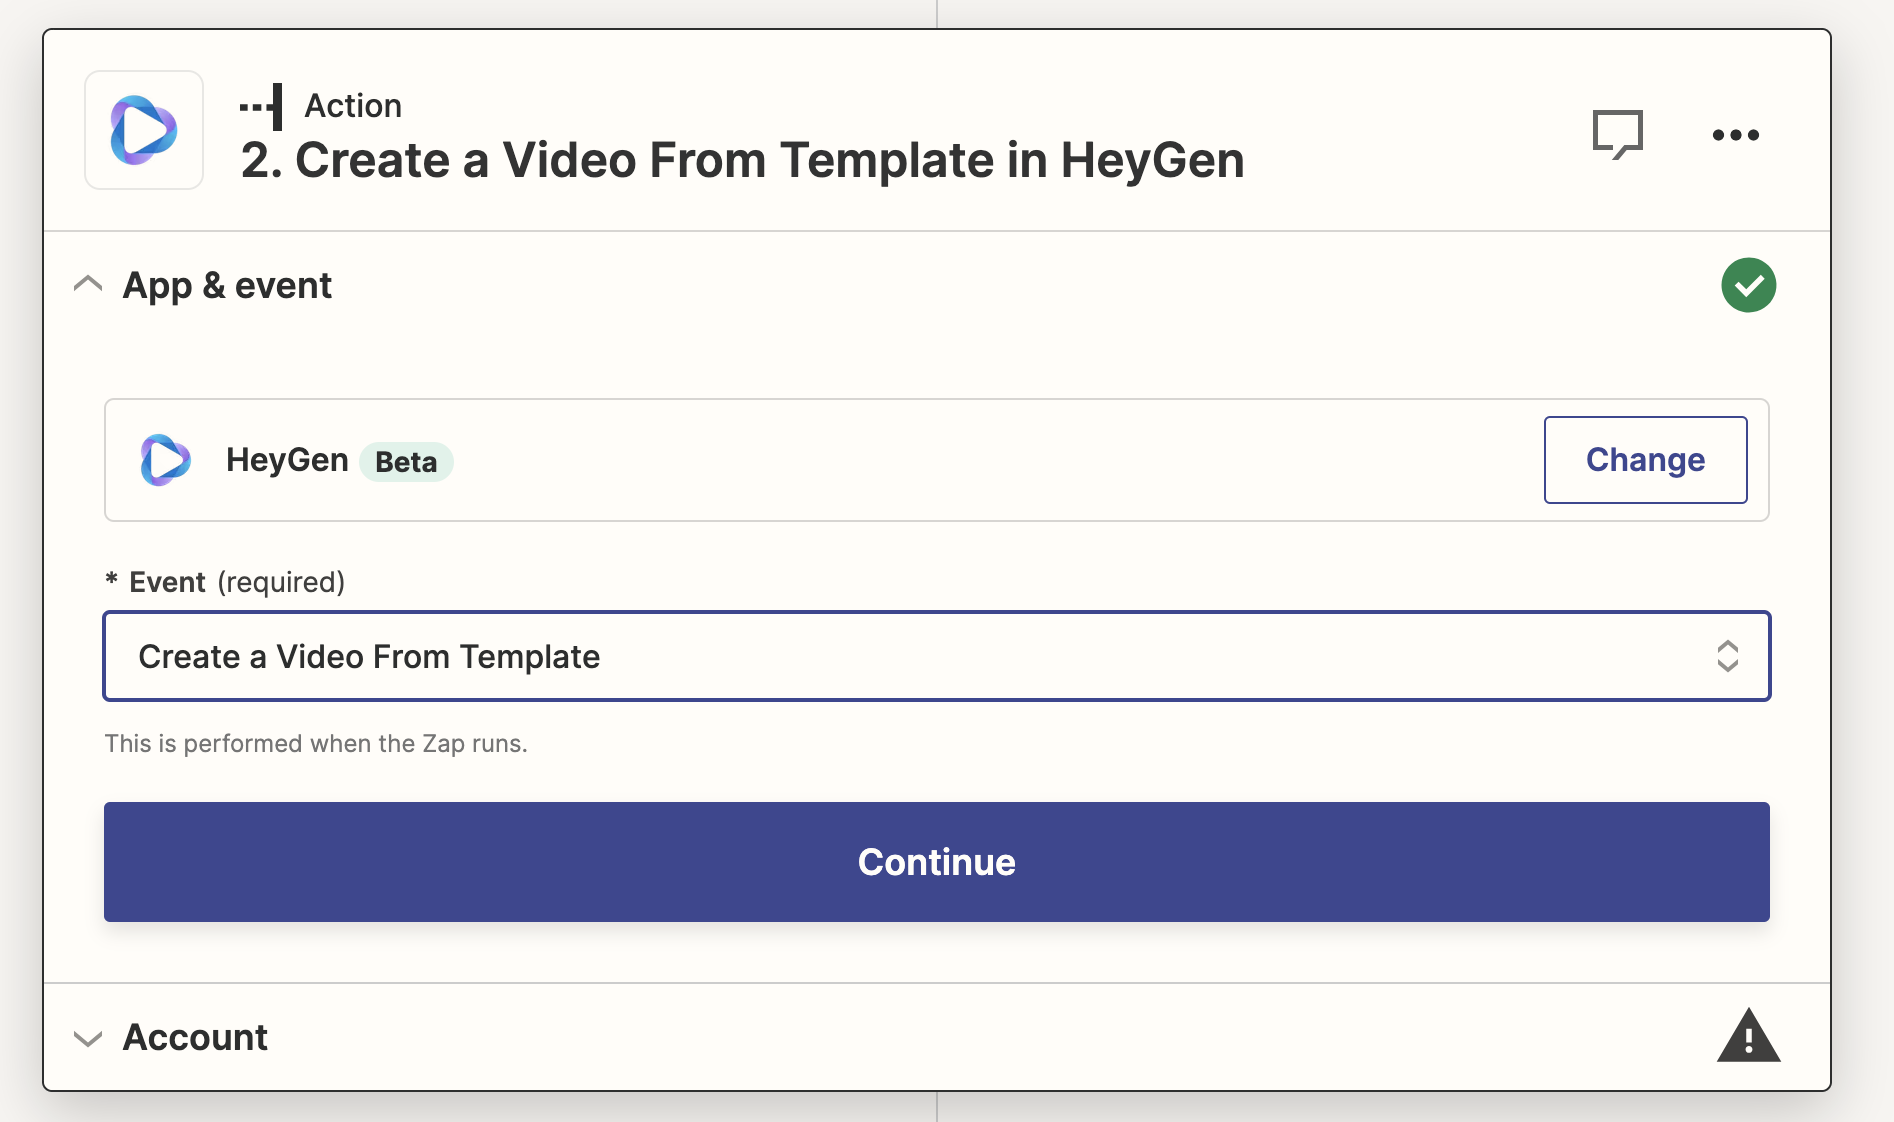
The event should be "Create a Video From Template". Authenticate your HeyGen account with your API key. If you don't have one, follow these instructions. If you've authenticated your HeyGen account previously, you can select your account from the dropdown menu.
Step 3: Setup the HeyGen Action
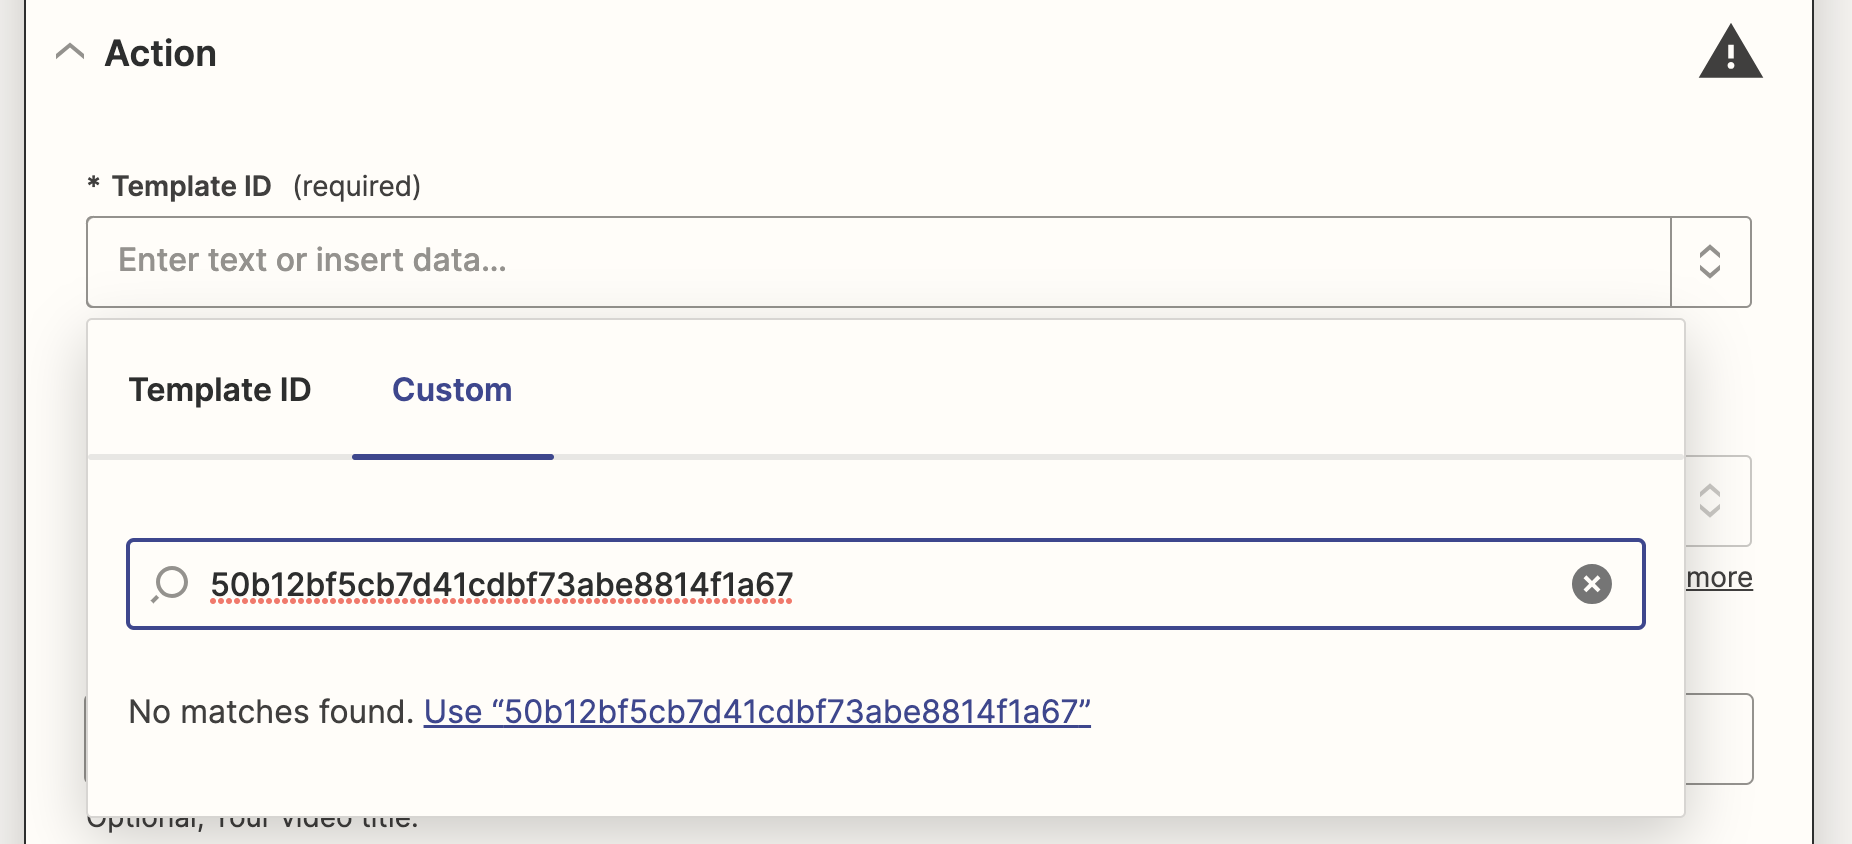
You will then see several fields to fill. The template ID is the Video ID you obtained during the preparation step. Paste this ID into the field and select it. Click on "Template ID", and select "Custom", then paste your Template ID into the field and click "Use "<Your Template ID>"".
You can toggle Test mode between True or False. If True, the video won't use your credits and will bear a watermark. Once everything works as expected, switch the test mode to False for actual production.

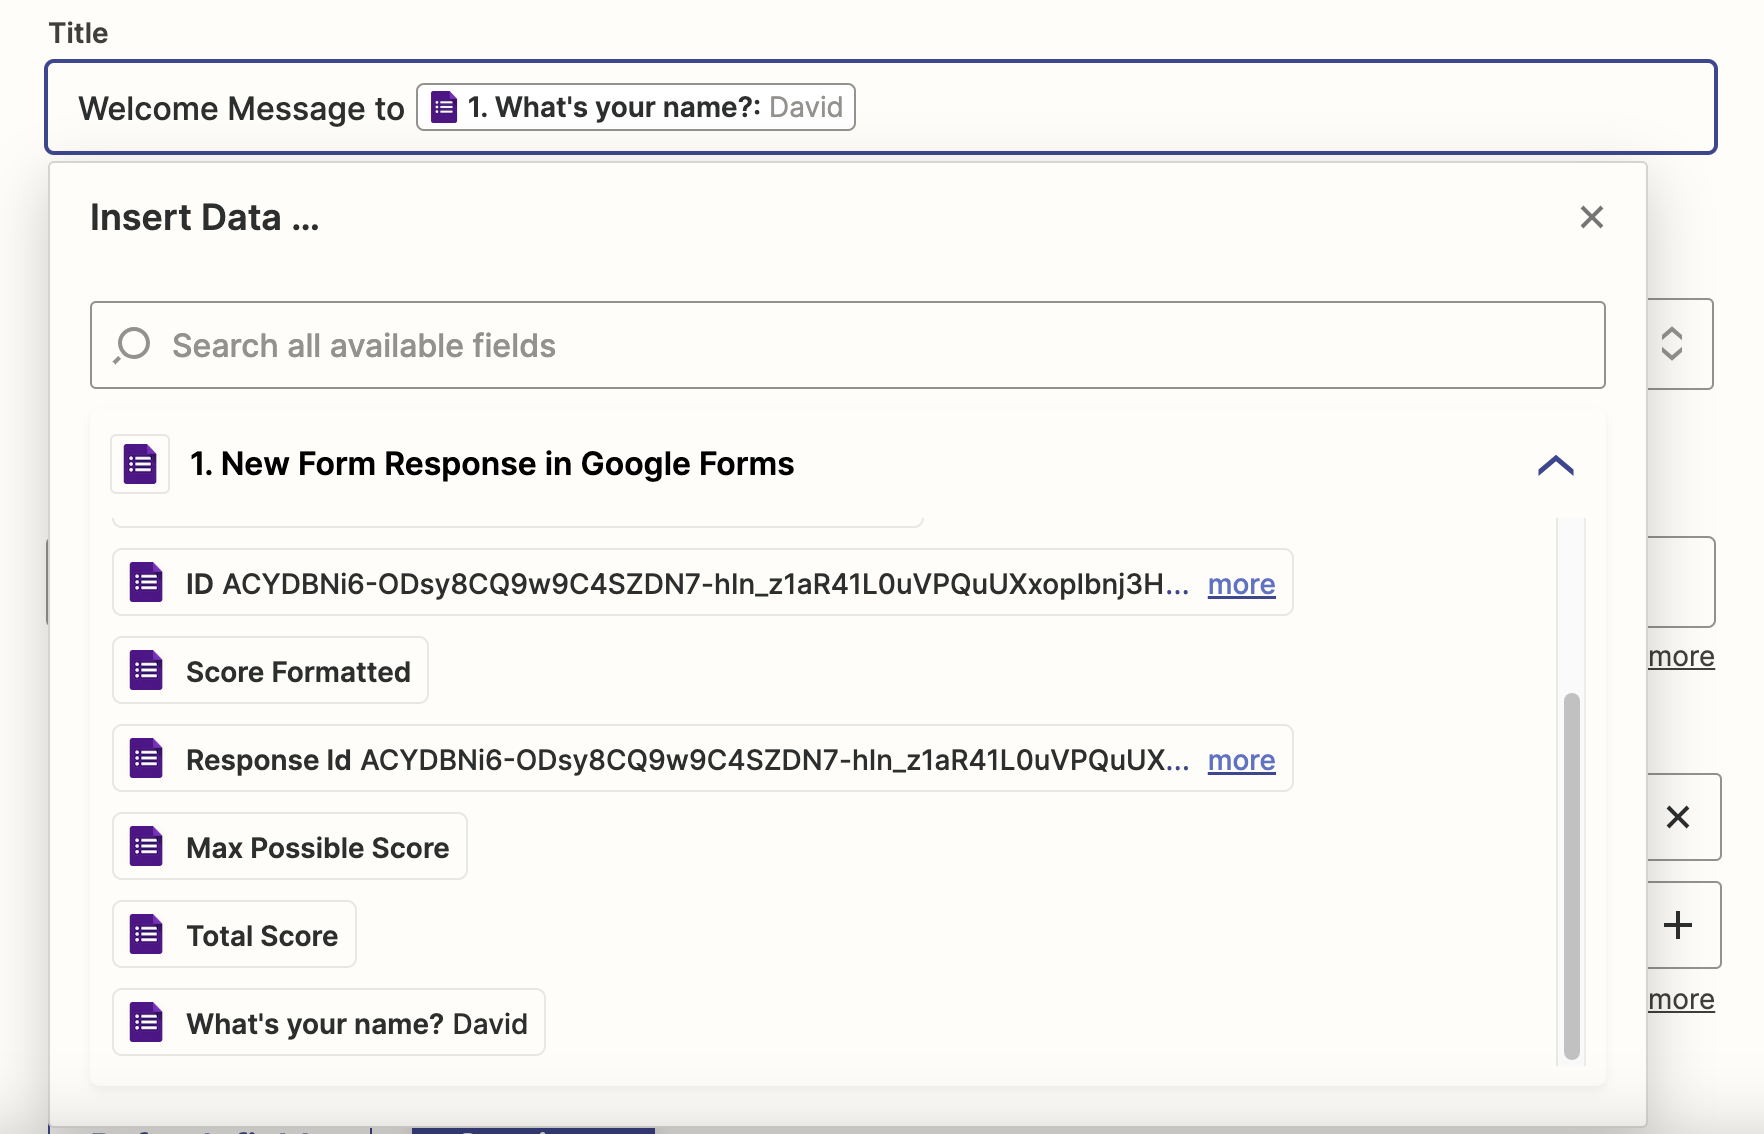
The title field is for your video title. You can input fields from the previous step(s) to personalize the video title for each response.
You can decide whether to include captions in the final video.

Callback ID, an optional field, can be useful for identifying the source of videos if you run multiple personalized video workflows.

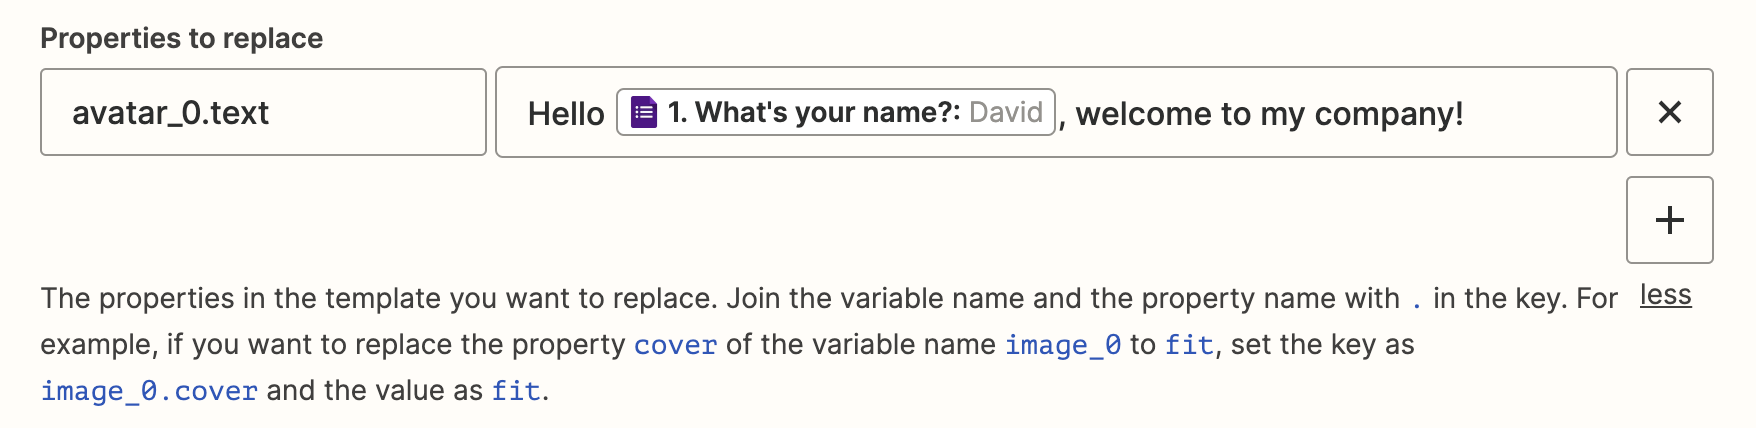
In the "Properties to replace" field, specify the elements you want to substitute in your template video. If there's only one scene and the avatar's transcript needs replacement, you might only need to replace the variable "avatar_0.text".
After setting everything up, click "Test Action". If successful, you'll see a success message.

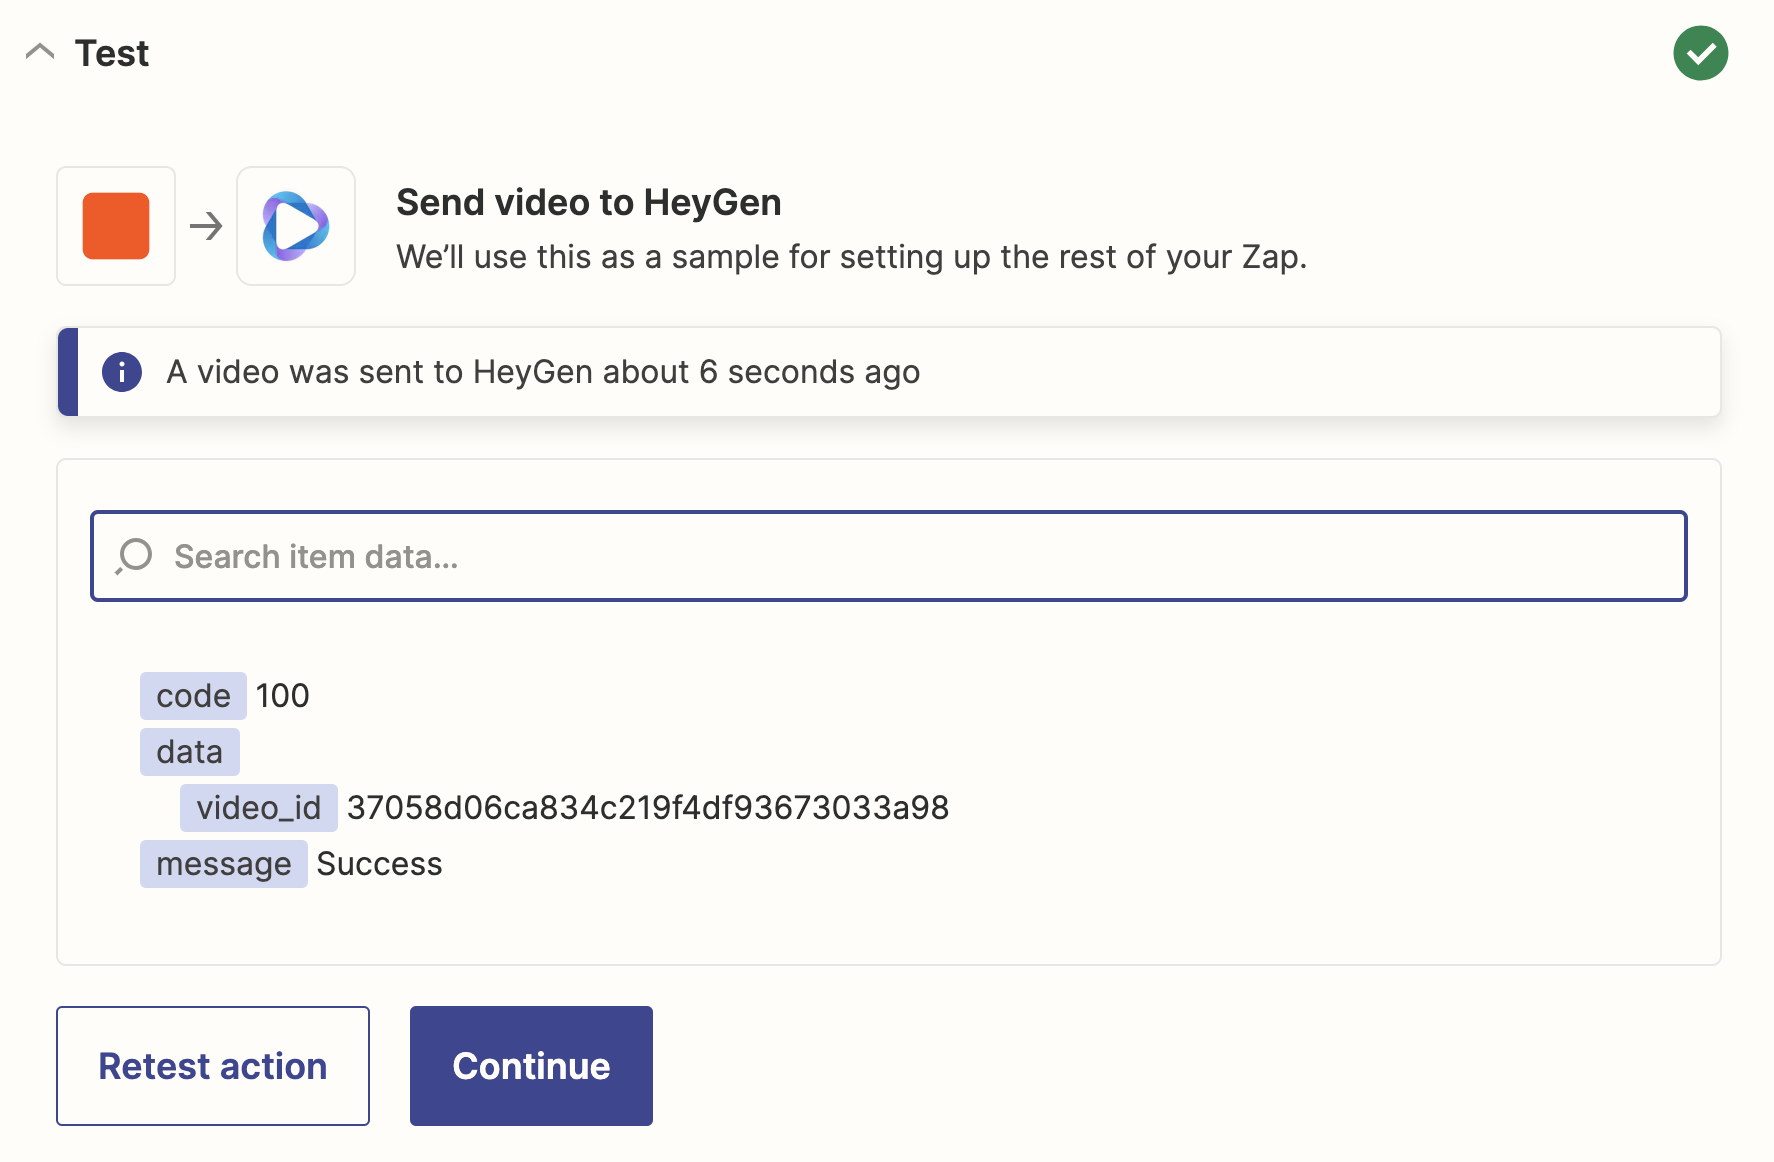
You can check the generated video on your HeyGen Dashboard.

If everything is in order and the video looks good, your Zap is ready to be published. Click "Publish" in the top right corner, and your automatic workflow is set up. Once the Zap is published and activated, each new Google Form response will automatically trigger a personalized video in your HeyGen account for your campaigns.

Conclusion
In conclusion, HeyGen and Zapier's integration offers a quick and efficient solution for creating personalized videos. Whether you're welcoming a new customer or onboarding an employee, this automated system ensures a unique and personal touch in your videos, enhancing your audience's experience. Happy video creating!


